

I really enjoy cookbooks that break things out into component parts, which is partly why I’m writing a separate post for this buttery graham cracker crust. It allows for a mix and match approach to baking that appeals to my inventive and curious side. Plus, this is a bit fancier than straightforward graham cracker crusts, and it’s a go-to recipe for when I’m tinkering in the kitchen.

This also happens to be the Momofuku Milk Bar graham crust recipe – which turns up in quite a number of Christina Tosi’s desserts. Eventually, I’m going to write a post about my love/hate relationship with Tosi’s recipes – since most of them are labor intensive and require obnoxious ingredients… but also usually taste really, really good.
In this case, the obnoxious ingredient isn’t tooooo bad. It’s just nonfat milk powder. And one can usually find that either in the baking aisle with other milk products, or it might turn up near the shelf stable milks (like soy milk, etc.). But unless you’re a moderately neurotic pantry-stocker like myself (or you’ve made this white chocolate cardamom ice cream or these make-ahead chocolate chip cookies), you probably don’t keep it on hand all the time.
But the nonfat milk powder is part of what makes this graham crust special – it comes out buttery and a bit caramelized and a lot more flavorful than your typical crumb crust. This one is also quite a bit less sweet than many crusts out there, using a scant 2 tablespoons of sugar. Usually, you just dump some crumbs, some butter, and a fair bit of sugar into a food processor and bam! You’ve got a crust. The extra ingredients here make for a richer flavor and sticker, more cohesive crust – which makes pressing it up the sides a lot less annoying. It’ll actually stick in place!
Ingredients are listed in the order they appear in the recipe and anything that requires prep is in bold. Ingredients are bolded in the directions when you first encounter them and the quantity required is included. I also include notes about any special equipment required.

Buttery Graham Cracker Crust
- 1 1/2 cups (190 grams) graham cracker crumbs
- 1/4 cup (20 grams) nonfat milk powder
- 2 tablespoons (25 grams) granulated sugar
- 3/4 teaspoon kosher salt, or 1/2 teaspoon regular salt
- 4 tablespoons (1/2 stick / 55 grams) butter, melted
- 1/4 cup (55 grams) heavy cream
Required equipment: a food processor will make it easy to pulverize the graham crackers. Other than that, you just need a 9 or 10 inch pie plate.
Note: this makes a bit more crust than you actually, technically need. (It only takes about 3/4 of the recipe to make a sturdy enough crust). So, if you want to snack on some or use it as a crumb topping on the finished pie, that’s totally cool! You can also go ahead and use it all; it won’t hurt anything.
Prep-work: melt the butter in a small saucepan and set aside to cool. Grind up the graham crackers in a food processor, or you can put them in a ziplock bag and crush them with a rolling pin. Or your fists! Just don’t hurt yourself, please. (Optional: spray your pie plate with a light coating of cooking spray.)
In a medium bowl, toss together the 1 1/2 cups graham cracker crumbs, 1/4 cup nonfat milk powder, 2 tablespoons granulated sugar, and 3/4 teaspoon kosher salt. Just try to get the ingredients all evenly distributed.
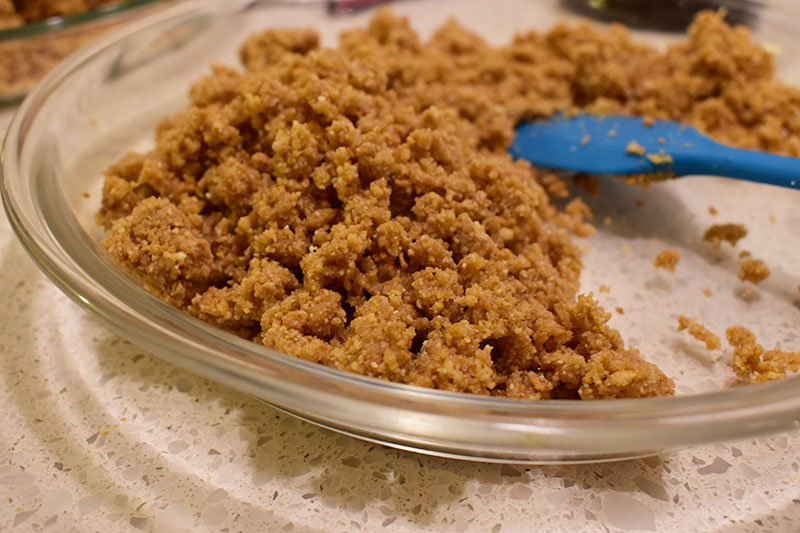
Pour in the 4 tablespoons of melted butter and the 1/4 cup heavy cream. Mix to combine – the result will be a clumpy mass of now sticky crumbs. It’ll hold its shape if you pick up a handful and squeeze.
Dump the crumbs into the pie plate and roughly divide it in half by creating an inner and outer circle with your finger. Press the outer half up the sides of the plate first, then fill in the bottom with the pile in the middle.
Crust is ready to use or can be refrigerated or frozen for up to two weeks.
Disclaimer: in the hopes of some (far off) day being able to quit my day job, this post contains affiliate links. Unless otherwise noted, I only link to things I actually recommend, and I might earn a commission if you end up buying something. That would be cool, but no worries if it’s not your thing.
